Here it is July already. My summer vacation is half way over. Ba Humbug! And yes, you would think that I could keep my blog up-to-date, but I haven't. Tisk. Tisk. Well anyway, you can find me over on FB most of the time. LOL
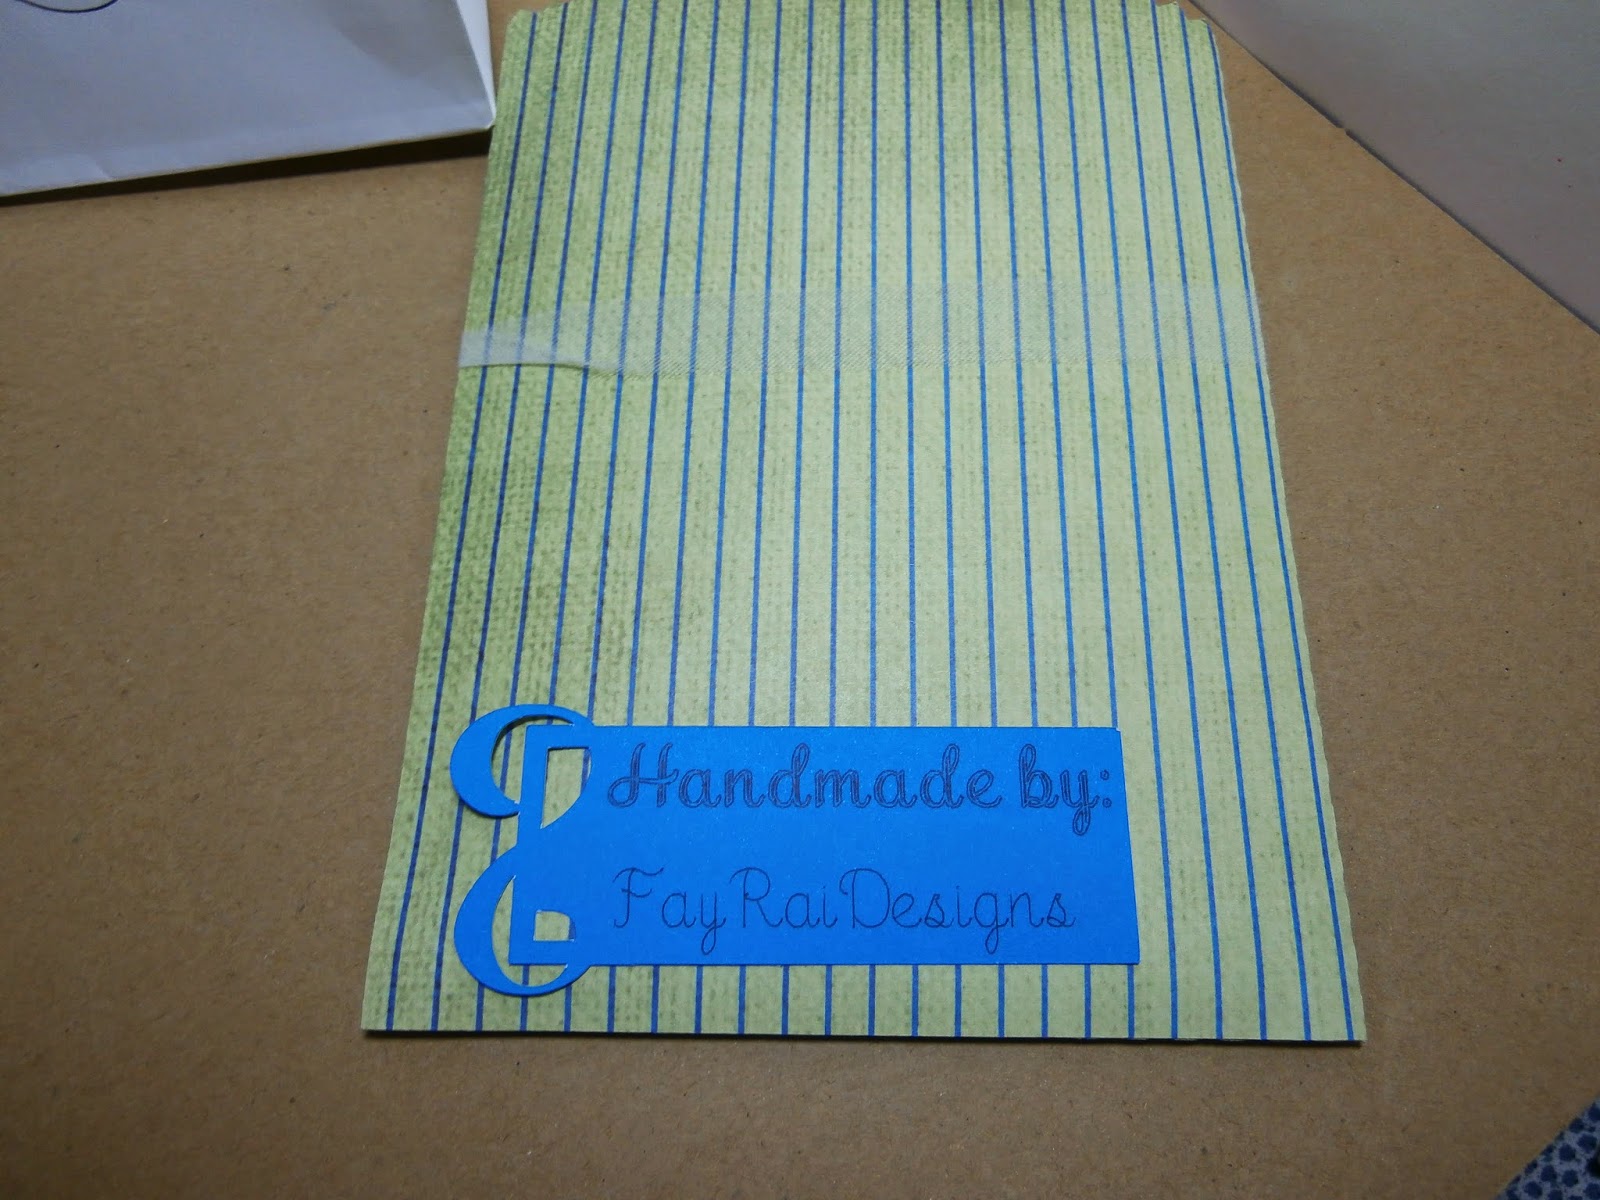
Here are a few things I worked on today using The Explore. I created a gift and "handmade by" tag to go on a gift that I made. The gift/paper bag was not cut with the Explore. Then I took a dollar store gift bag and cut it down and adhered the handle part inside the bottom part. I then used the Explore to write my name and "created by". The image is from one of the Imagine images.
A creative blog of both HEART and MIND working together to find HARMONY in life
Thursday, July 3, 2014
Monday, June 23, 2014
Addressing envelopes with the Cricut Explore
Let's Make it Personal
And I'm doing just that and enjoying it while crafting with the new Cricut Explore. Let's just say that I am EXPLORing new possibilities. LOL. I know what you maybe thinking, "Oh no, not another Cricut" Well, I did take the plunge again and so far, so good. I especially am quite satisfied with the writing feature this machine has. For my post this month, I made a few samples to show you how you can personalize many of your crafty projects or gifts. Let's start first with a few handmade bags that I cut and also wrote my name and a sentiment on.
Next, I designed some business cards and address labels. Here's what I did to create the business cards:
First, I found some frames that I owned and placed them on the Design Space canvas
Then I made sure the shapes could be ungrouped so that I could create two layers: one for the written part and one to coordinate as a bottom layer.
Next I choose a font and added it to the top shape. You can use
true type fonts with this machine.
And here is the finished project and some address labels. I basically
did the same thing with the labels( sorry, I had to cover up my
address.
Personally yours,
Next, I designed some business cards and address labels. Here's what I did to create the business cards:
First, I found some frames that I owned and placed them on the Design Space canvas
Then I made sure the shapes could be ungrouped so that I could create two layers: one for the written part and one to coordinate as a bottom layer.
Next I choose a font and added it to the top shape. You can use
true type fonts with this machine.
And here is the finished project and some address labels. I basically
did the same thing with the labels( sorry, I had to cover up my
address.
Personally yours,
Wednesday, May 21, 2014
Hats off to our Graduates
Well , can you believe it? It is that time of year again. GRADUATION. So, hats off to all the graduates out there that have worked hard. I created a few projects that would be ideal to give to some of those who have reached their goal. All of these were die-cut using the Silhouette Cameo and the die-cuts can be found in the Silhouette Store. I created two gift cards and one box card. So why not try one of these quick projects and show your appreciate for our graduates.
Monday, April 21, 2014
Spring up Memories
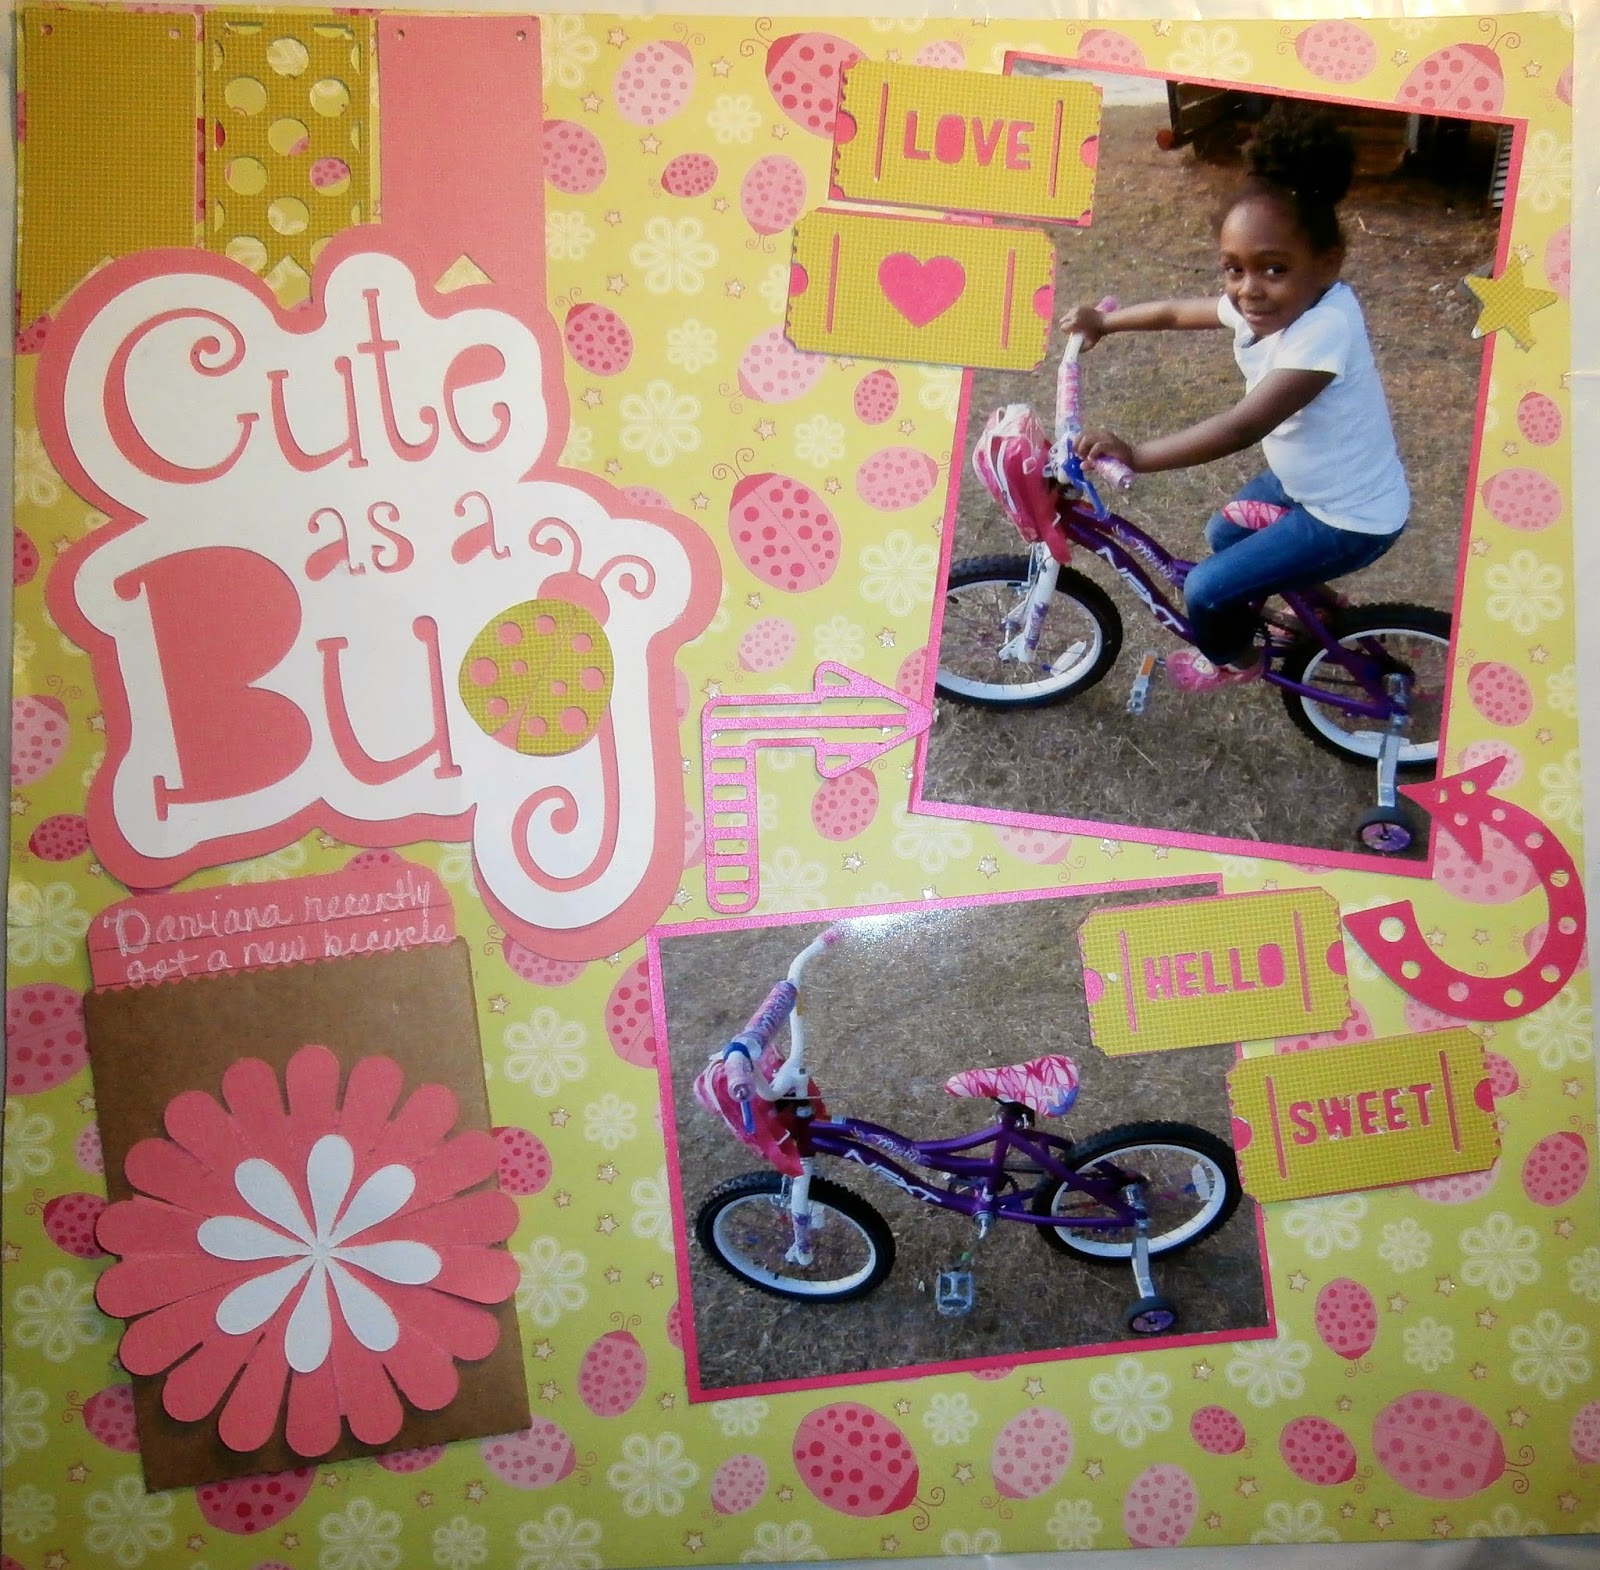
I had to remind myself recently not to forget where I came from or rather how I got started. This is in reference to paper crafting. I started with scrapbooking and doing layouts. So I thought why not return to the passion that got me started. This month I decided to do a spring layout. Nothing really fancy just a sample of my style. I love to layer a lot on my layouts and so here ......
I am and this is how I have evolved over the years. I grabbed some pictures I recently took and got busy. The layout is of my granddaughter who recently got a new bicycle. I bet we all can remember those days. I used my Silhouette to cut all the die cut images. The background paper is so Spring. As I said, nothing fancy, just some paper, embellishments and memories. Do you remember how or why you started scrapbooking? Why not take a walk down memory lane and remind yourself where you came from.
Saturday, March 29, 2014
A Bowl of Yummy Goodies
Here is my small Washi tape collection. I thought that this new "must -have" craft supply was gone and forgotten but it continues to fascinate crafters in every type of crafty way. It now has captured my fascination.
My Altered Composition Planner/Art Journal
I was inspired to create another altered composition book but with a different twist. This composition serves as a planner/art journal. I'm loving the journey. So here are just a few pages from that planner. I was inspired by the talent Claudia Rossi (YouTube) and there are several other artists that are doing this project as well. So check out Claudia's channel and goggle some others to see how much fun this is.
Subscribe to:
Posts (Atom)